Writing a Scientific Software Package

All posts tagged Writing a Scientific Software Package

UPDATE (2018 Jun 6) – I’m trying to learn how to use Sphinx to create documentation from source-code docstrings. The Sphinx manual is impressively opaque. Some googling turned up this document, which seems to provide useful details.

UPDATE (2018 Jun 4) – I’ve found some new resources that are much more up-to-date:

To set up my package so it can be installed via pip, I’m following the somewhat outdated tutorial here – https://python-packaging.readthedocs.io/en/latest/index.html.

I’ll make more notes and update this post as I go along.

As the second entry in my series on learning how to write scientific software, I’m going to describe choosing and configuring my integrated development environment or IDE. This is the program I’ll use to write and edit the source code for my project. It’s more-or-less a fancy text editor.

My text editor of choice is vim or vi improved. It’s highly customizable, powerful, and there’s lots of online help to use it. However, it has a very steep learning curve and the commands, while fast to type out, can be very cryptic. In fact, vim is famously difficult to exit.

In any case, I started using vim back when “Pirates of the Caribbean” movies were still good, so while I’m no vim guru, I feel pretty comfortable at least exiting the program.

Opening a terminal window in Mac, I fire up vim just by typing “vim” or “vi”. That opens an editor window. vim can automagically interpret and color source code, as follows:
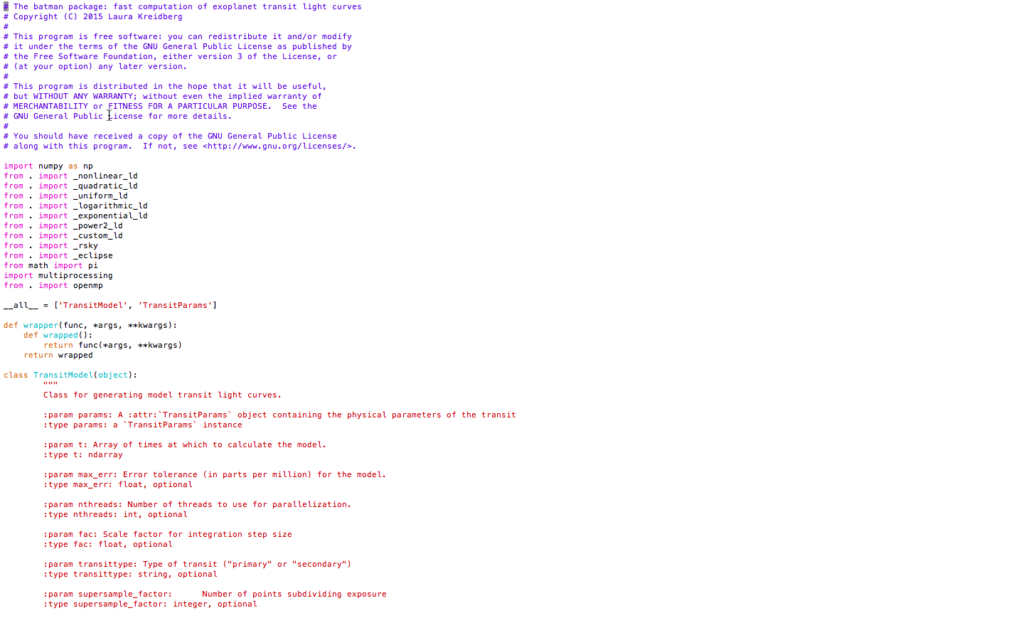
A screenshot from vim showing syntax-colored source code.

To turn on syntax coloring, go to your home directory (type “cd” in the terminal window), and edit the vim configuration file .vimrc by typing “vi .vimrc”. That should open an editor window.

Then, in vim, type the letter “i” (that starts “insert” or edit mode, allowing you to enter text into the file) and type “syntax on” <ENTER> “filetype indent plugin on”, giving a file that looks like this:

Press the escape key (which exits insert mode and enters command mode). Save the changes by typing “:wq”. That should save and exit.

Unlike many other languages, Python considers whitespace in its interpretation, and the Python style guide recommends using four spaces for each level of indentation. It would be nice to have the tab key implement that spacing in vim. Ynfortunately, my vim by default inserts eight spaces for each press of the tab key.

But you can modify that behavior by adding file-type plugin files to a special vim configuration folder. I followed the instructions here to create an ftplugin directory inside the .vim directory (by typing “cd && cd .vim && mkdir ftplugin && cd ftplugin” in the terminal window). Then, inside the directory, I created python.vim (“vi python.vim”) and again pressed “i” to enter insert mode.

I typed the following lines into the file:

Then pressed the escape key and typed “:wq”.

Next, I tested the new configuration by typing “vi test.py” (the “.py” is important because that’s how vim knows you are editing a python file and want to use the new python configuration). I pressed tab and got four spaces instead of eight.

I’m sure there are other configuration settings that would be useful, but this’ll do for now.

UPDATE – 2018 May 17: I found this excellent website – http://docs.python-guide.org/en/latest/, which addresses vim set-up, as well as a number of other issues.

Ancient software developers meticulously punched holes in paper cards to write programs.

In the eons before my graduate career, scientists rarely, if ever, publicly distributed their codes, with authors zealously guarding their coding projects.

But just as I was finishing my PhD, it was becoming common for scientists to make the code they developed as part of a published project readily available on the internet. However, the methods to post code online (at least those I knew about) were pretty clunky.

Nowadays, the infrastructure for posting and sharing code online is robust, mature, and relatively easy to use. Consequently, scientists are creating beautiful code repositories, along with accessible documentation.

Open-sourcing code is becoming ever more important: as codes become more complex and capable, readily available codes with good documentation are critical to support reproducibility, a cornerstone of the scientific process. Moreover, federal funding agencies are starting to require investigators to make their code and data products public.

Unfortunately, since I was one of the last generation of grad students before these repositories were common, I never really learned how to distribute and document code properly.

So as part of an ongoing effort to improve my science output (and as an aide to my future students), I’m going to begin a series of semi-regular blog posts describing my process of learning how to write, document, and post scientific code.

A few caveats upfront:

  • I intend to mostly (probably exclusively) write the code in python, which has become (at least in astronomy) the language of choice, so not all of what I write will be generally relevant.
  • I was ushered into the Cult of Mac many years ago, so not all of what I write will be relevant for other OS’s. Here again, though, I’ve found anecdotally that most astronomers use Mac.
  • This blog series is in no way intended to be comprehensive or rigorous. I’m just planning to describe what I learn as I go along, and what time I can devote will almost definitely not suffice to explain all the details, nuances, or technical aspects that intersect the project.

As to the actual science code I intend to write, several years ago my colleagues and I wrote a paper about ellipsoidal variations induced by massive exoplanets orbiting very close to their host stars. The accompanying code, EVIL-MC was written in IDL, an older language still widely used in astronomy but proprietary and requiring the purchase of an expensive site license.

My plan is to convert that IDL code into a Python package over the next several weeks.

EVIL-MC – Ellipsoidal Variations Induced by a Low-Mass Companion


Tidal distortion (exaggerated) of a star (orange-yellow disk) orbited by planet (white/black disk). The plot below shows the brightness variation of the star due to the tidal distortion.