 As the second entry in my series on learning how to write scientific software, I’m going to describe choosing and configuring my integrated development environment or IDE. This is the program I’ll use to write and edit the source code for my project. It’s more-or-less a fancy text editor.
My text editor of choice is vim or vi improved. It’s highly customizable, powerful, and there’s lots of online help to use it. However, it has a very steep learning curve and the commands, while fast to type out, can be very cryptic. In fact, vim is famously difficult to exit.
In any case, I started using vim back when “Pirates of the Caribbean” movies were still good, so while I’m no vim guru, I feel pretty comfortable at least exiting the program.
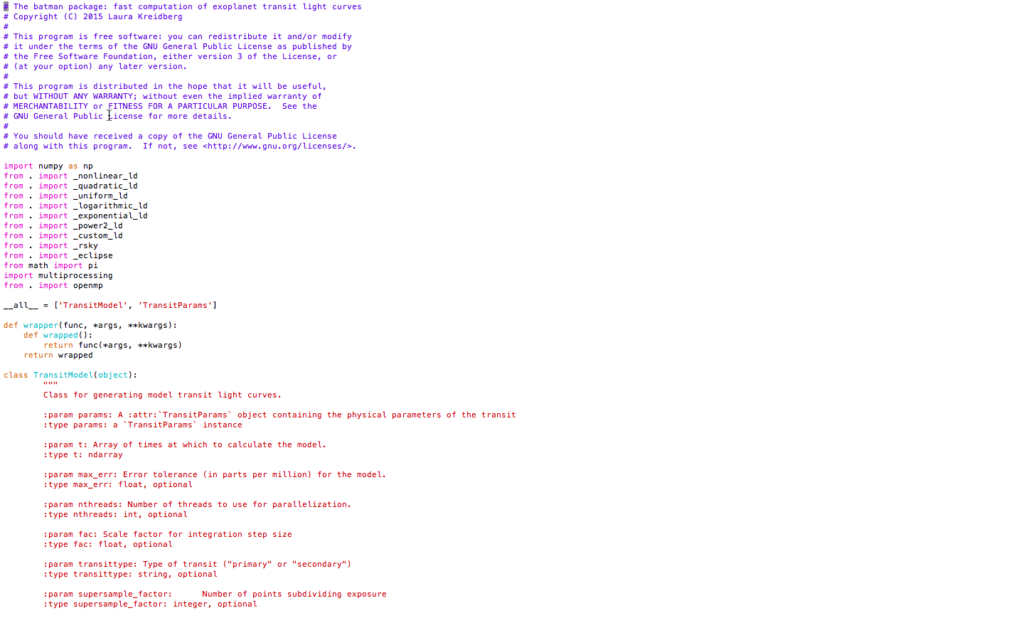
Opening a terminal window in Mac, I fire up vim just by typing “vim” or “vi”. That opens an editor window. vim can automagically interpret and color source code, as follows:

A screenshot from vim showing syntax-colored source code.
To turn on syntax coloring, go to your home directory (type “cd” in the terminal window), and edit the vim configuration file .vimrc by typing “vi .vimrc”. That should open an editor window.
Then, in vim, type the letter “i” (that starts “insert” or edit mode, allowing you to enter text into the file) and type “syntax on” <ENTER> “filetype indent plugin on”, giving a file that looks like this:
![]()
Press the escape key (which exits insert mode and enters command mode). Save the changes by typing “:wq”. That should save and exit.
Unlike many other languages, Python considers whitespace in its interpretation, and the Python style guide recommends using four spaces for each level of indentation. It would be nice to have the tab key implement that spacing in vim. Ynfortunately, my vim by default inserts eight spaces for each press of the tab key.
But you can modify that behavior by adding file-type plugin files to a special vim configuration folder. I followed the instructions here to create an ftplugin directory inside the .vim directory (by typing “cd && cd .vim && mkdir ftplugin && cd ftplugin” in the terminal window). Then, inside the directory, I created python.vim (“vi python.vim”) and again pressed “i” to enter insert mode.
I typed the following lines into the file:

Then pressed the escape key and typed “:wq”.
Next, I tested the new configuration by typing “vi test.py” (the “.py” is important because that’s how vim knows you are editing a python file and want to use the new python configuration). I pressed tab and got four spaces instead of eight.
I’m sure there are other configuration settings that would be useful, but this’ll do for now.
UPDATE – 2018 May 17: I found this excellent website – http://docs.python-guide.org/en/latest/, which addresses vim set-up, as well as a number of other issues.